When i bought my house, the worst part of the kitchen was a near-total lack of cabinets. I mean, besides the 4 doors to the kitchen and the lack of home for the refrigerator. But aside from that, cabinets.
Built in 1909, the house likely had free-standing cabinets for most of its life. By the time I bought it the only cabinets aside from the pantry were on the wall around and above the sink.
This is how much storage and counter space we had around the stove:
The narrow shelf in the left nook was part of a shelf unit I built many apartments ago, and it just happened to fit here. The small table on the right i built for a different apartment with the same lack of countertop problem. It was a pretty lousy solution for the house, but all i had for several years here.
I wanted more cabinet space, but nothing pre-built seemed to fit. The nook at the left was a complication, and the lower right space also had a heat vent on the baseboard, and the left side of the stove had the gas line coming up through the floor. I figured I could more easily design and build my own cabinets.
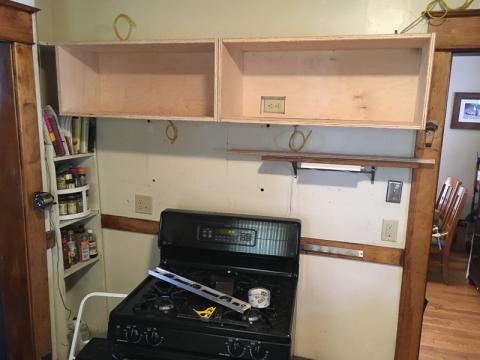
First, I contracted some electrical work to have new outlets installed for the microwave and counter spaces, and wiring for undercabinet lighting. Here i'm test fitting the upper cabinets to test the locations for the new outlets & light wiring. I also ran speaker wire for the cabinet tops, to tie in to the house system. We like to listen to music while cooking.
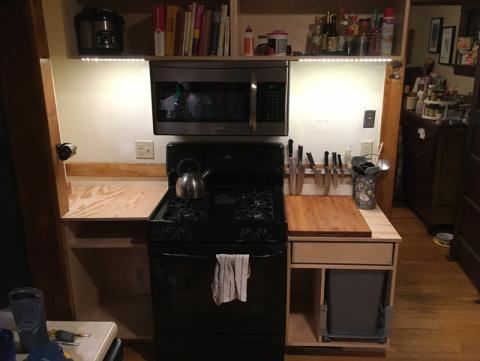
I built all of the cases using basic pocket screw carcasses, with maple-faced plywood and a clear poly finish. The drawers are the same plywood but with box joints. The undercabinet lighting is pretty nice to have.
The right lower cabinet is a bit shorter for a cooking prep surface, easier to work on. It also has a sliding garbage/recycling center and the main silverware drawer. The left side has a drawer and 2 sliding shelves for pots and pans. The right cabinet also has a tunnel to re-route the heat vent out through the kick plate, and insulated so we aren't just making the garbage hot all winter.
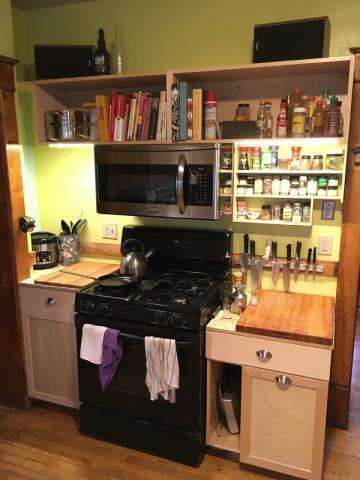
This is the space with finished cabinets, pre-counter, but with the finished doors and drawers in place:
The counter top is 2" maple butcher block, found at Bauer Brothers salvage in Mpls, and plenty big enough to fit into the space. The left side needed a little extra fiddly cutting to fit in the odd space.
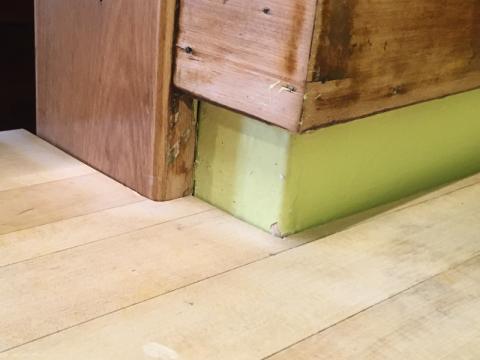
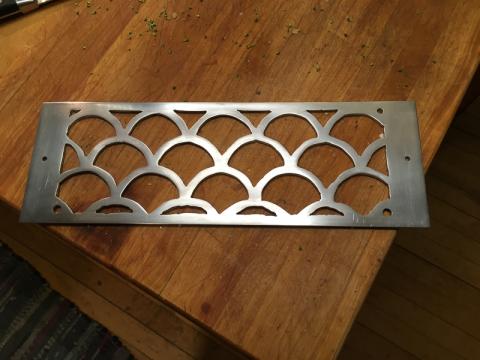
The last pieces were the spice rack on the right side, and this cover for the kickplate heat vent outlet. I couldn't find what i wanted, so i cut this out of 1/8" aluminum plate, with more hand cutting and filing than i want to admit. It's also practically impossible to see it now that it's installed.
Overall, this was easily the best and most practical remodeling project i've done on the house.
