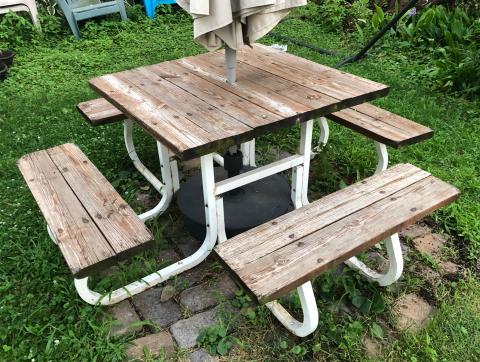
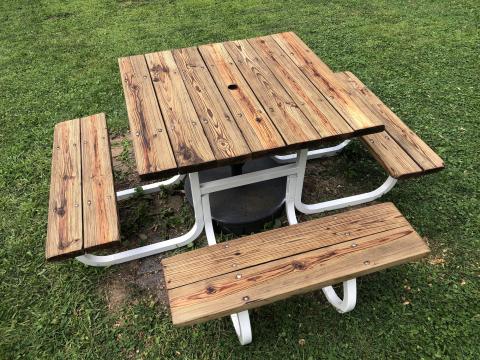
We have this old picnic table that was a hand-me-down from one of my neighbors. They gave it to me several years ago, and it was pretty far from new then.
It's a good style of table for us, as we rarely have more than 4 people eating together in the yard, and it's pretty compact in our small yard. We added an umbrella from Ikea, and stained the wood 7-8 years ago, but otherwise have done no maintenance.
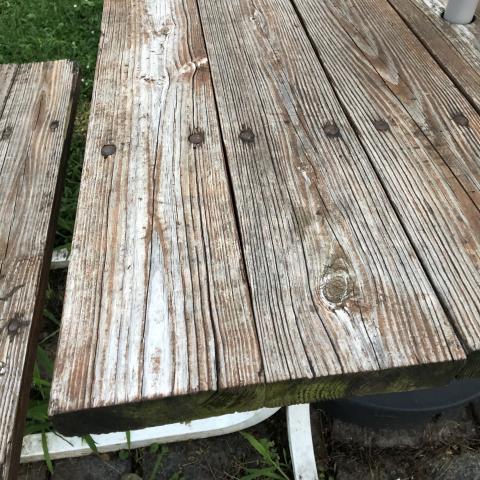
The wood was getting pretty dry, but they're solid and still fairly straight boards.
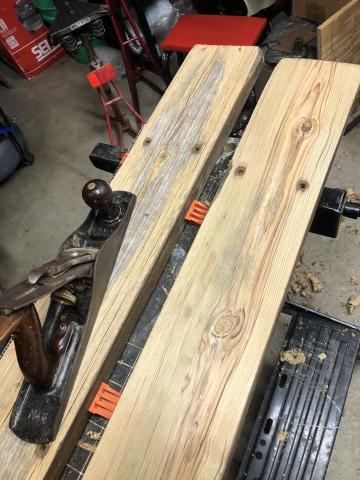
I figured i could make it look nicer and eliminate some splintery areas with some planing. I'm not getting much exercise otherwise, so i planed it all by hand.
It cleaned up surprisingly well, considering how grey and dry the boards seemed on top. I used this old Bailey No.5 plane for the main cleanup and flattening, and a Record No.4 smoothing plane for the final surface.
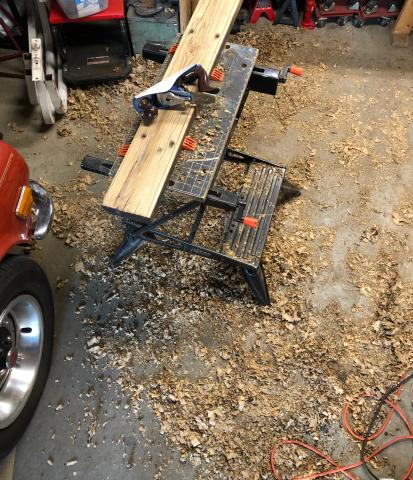
I don't have really have a lot of fancy tools, but it was fun to break out that Record, because i got it along with some of my uncle's woodworking tools, and it was still in the original box, unused. This was its first use ever (it's not a collectible model). It did a great job, and i made quite a pile of shavings by the time i was done, even just smoothing the top and sides.
That done, i went back to check out the frame.
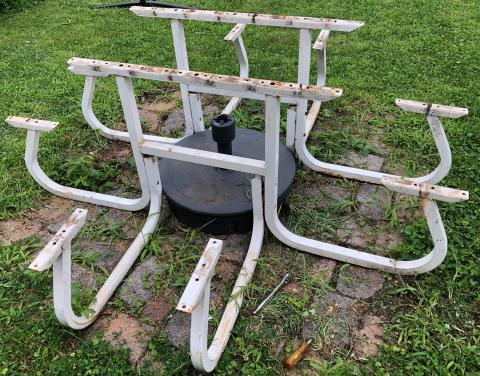
It doesn't look terrible here, but notice the tubes along the ground on the front left. The frame was made of square tubes, but some of the horizontal tubes along the ground were round, a result of water getting in and freezing in our Minnesota winters. So the whole thing came apart.
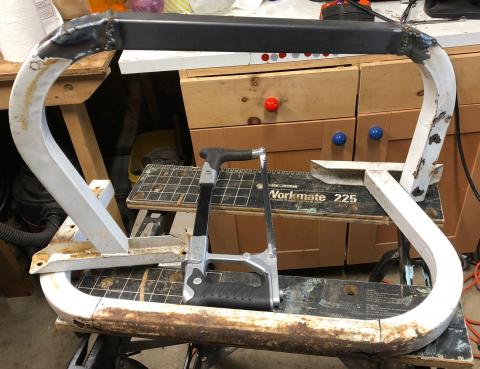
Now that i have a MIG welder, i thought it would be good practice to patch in new tube where needed and fix the rust in there. Here you can see the rust damage and one of the fixed legs. I ended up replacing tube sections on 3 pieces and patches on a 4th one. Two of the legs had sections split open by freeze expansion.
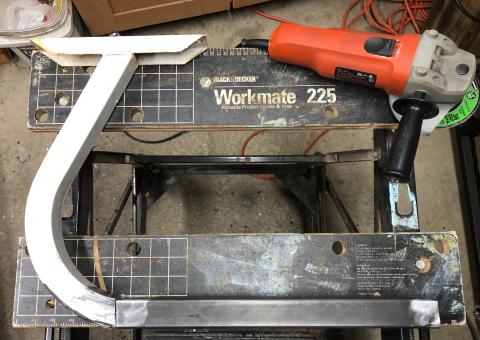
My portable work table was a handy place to work, because i could adjust the table to be parallel with the width set to the overall height of the piece (16"), making it really quick to trim and test the joint fit.
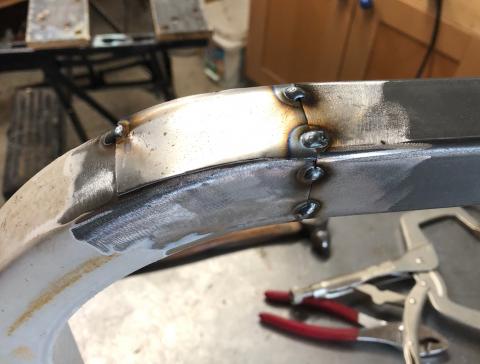
On all of the tubes the rust extended into the curve of the leg, past the straight section, so i had to patch in smaller pieces of sheet steel.
I got 16ga 1.5" tubing, slightly thicker than the original tubes. It was good practice to work on this, as i build confidence toward fixing the floorboards on the TR6 project. My welds near the end needed a lot less cleanup than the earlier welds.
Welding cleanup was fairly minimal, just smoothing over the joints without taking away material from the thin tubes. The insides got some rust converter and the outsides painted with 3 coats of Rustoleum white.
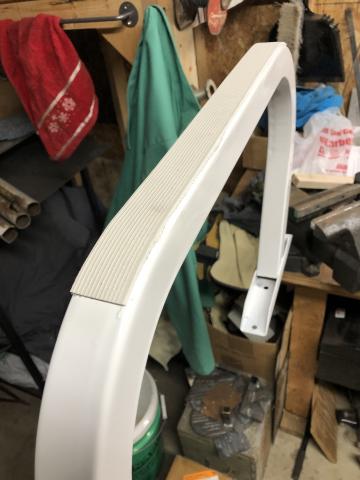
I got some vinyl wall protector and attached it to the legs with carpet tape to keep the new paint from getting gouged up on the stones the table usually sits on.
The boards got 2 coats of thinned down boiled linseed oil and looked so good i decided not to use a stain on top, but will add a clear water seal coat once that has a chance to fully dry.
I don't have a closeup picture of them, but the vertical inner frame tubes (where the side pieces bolt on) have new plastic caps to help keep water out - i 3d printed those to fit from this excellent little design: Cap that Hole by Zivbot. It's worth the download for OpenSCAD, you can customize all kinds of shape and size dimensions with it, and make caps for all kinds of tubes.
