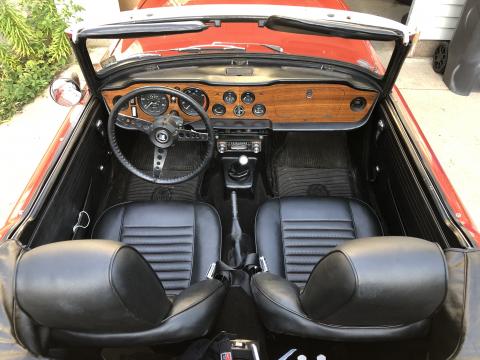
The sun visors that came with my car were, like many of the interior pieces, obviously home-made. You can see in this photo of the interior, they're oddly puffy and warped.
They were a layer of soft foam and vinyl on each side of the wire visor frame, sewn together and a vinyl binding sewn around the edge. While I appreciate the charm, they look messy with everything else getting updated. On the other hand, I wasn't excited to pay $150 for a pair of brand-new ones, and I'm sure that any originals I might find will be a bag of crumbling foam that wasn't much better.
I figured I could make something similar to the original style with pieces I have around the shop.
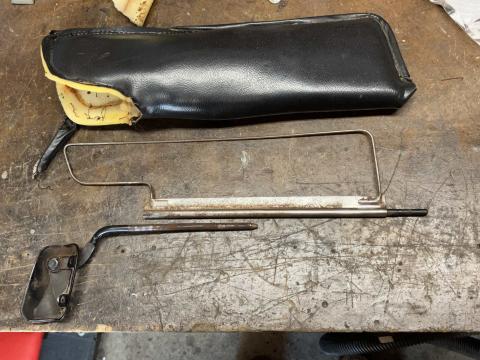
First I removed and stripped the passenger visor as a test.
These are the pieces: the cover on top, frame in the middle, and mounting post on the bottom. The post has a slight bend in it which creates the friction to hold the visor in place when flipping it up and down. I cleaned up and painted the metal parts, though the frame was originally just bare steel.
I'm not even sure what the new visors are like exactly, but I wanted a visor that is padded but thin and firm, and covered in black vinyl to match the interior.
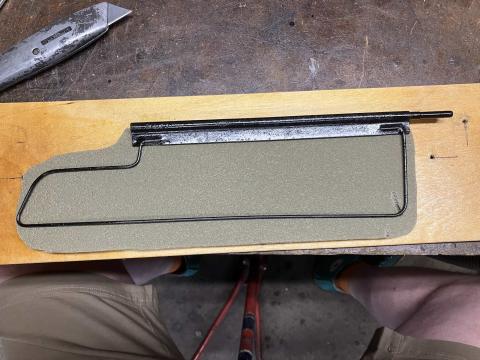
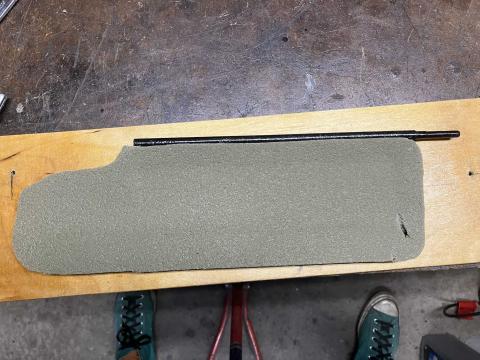
Digging around, I found some 5/16" thick closed-cell foam that seemed about perfect, so I cut out a test piece in the shape of the old visor.
I'm not sure if the visor is supposed to be the size of the frame, but the ones I had were larger, and an extra inch of height seems useful when I'm tall enough to almost look above the windshield.
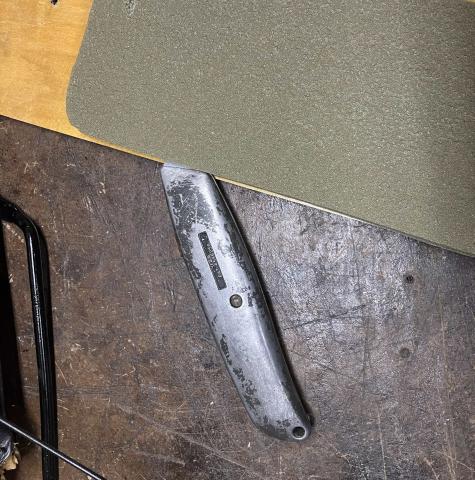
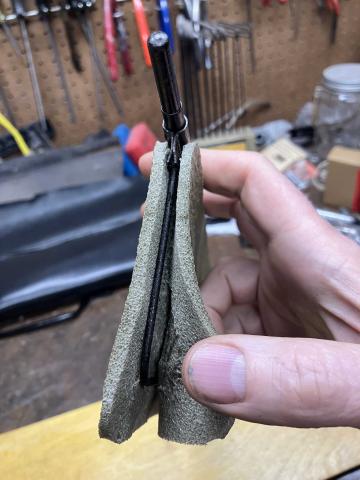
I like the thickness of the foam, but also didn't want to have the frame showing under the vinyl, so I split the foam along the edge so I could encase the frame.
I installed the frame into the foam.
I used a little contact cement to seal the edges together to make the foam and frame solid.
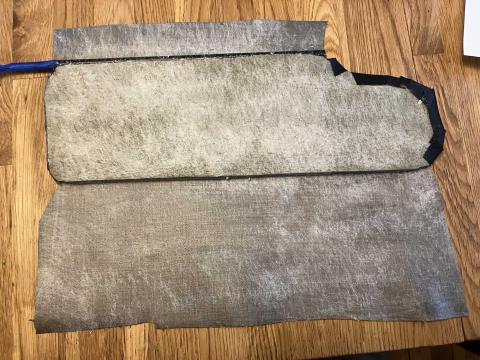
For the vinyl, I decided to use pieces cut from the old soft top that I just replaced. I tried a couple of tests with some water-based contact cement, but ended up using the same 3m spray contact adhesive that I used for the main soft top gluing.
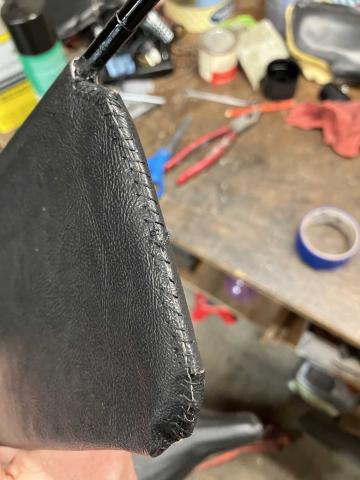
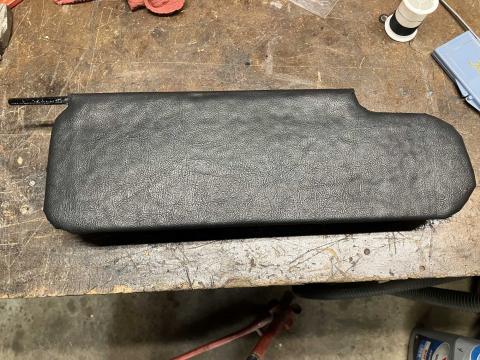
I didn't really have a good pattern for the vinyl, so I just glued one side and started working around the curves. If I had a better form I would have use a heat gun to stretch the vinyl for smoother curves. I'm not sure if the contact cement will hold these fiddly pieces, so I decided to sew along the edge to make it more secure. It also helped to smooth out the pointy curves.
The result isn't quite a slick as I was aiming for, but I like them a lot better than the old ones.
They fit in the space great and in use you don't see the sewing and extra seam along the top edge, so I like them.
