One of the justifications for pulling and rebuilding the gearbox was that it would sometimes jump out of 2nd gear when decelerating. There are typical reasons that would happen: the "top hat" bushing for 2nd gear is broken, because of excessive wear in that cluster, or a weak detent spring for the shifting rod assembly for the 1-2 gear.
For this gearbox, the 2nd gear top hat bushing was in perfect shape, and the 2-3 cluster of bushings was still in spec, which is good news because that top hat bush alone is about $50.
Tension for the shifting rod detents is measured with a fish scale, and measuring the force needed to move the rod from one notch to another. The 1-2 rod measured around 18 pounds of force, just over half of what it should be. Aha! A new detent spring should fix it.
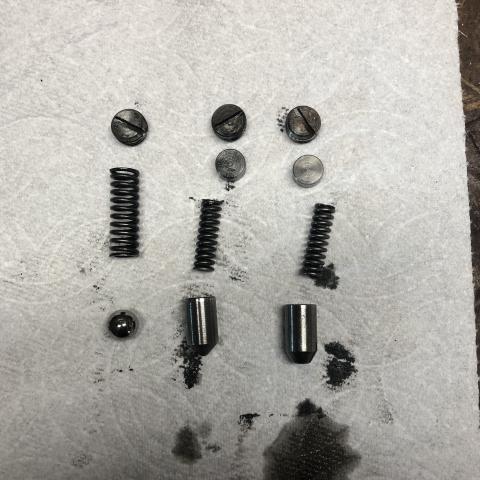
Everything else in the top cover seemed to be in spec, so it was really just a matter of cleaning everything up and reassembling. On the advice of many sources, i took apart the detents carefully, to avoid losing the pieces, and took a photo to make sure i remembered the orientation. There were at least 3 variants of balls and/or plungers used for these.
1-2 shaft on the left, 3-4 middle, reverse on the right.
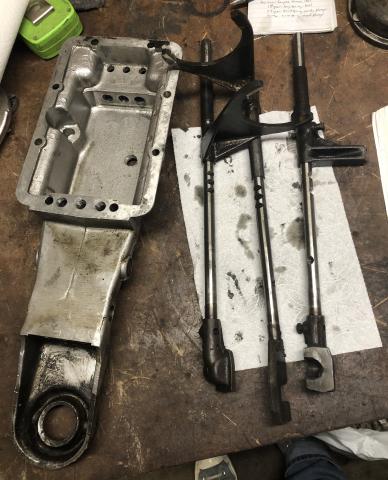
The shaft spacers were various degrees of corroded, with what looked like fingerprints on 2 of them. It seems that whoever was in here last had sweaty fingers and didn't clean up behind themselves.
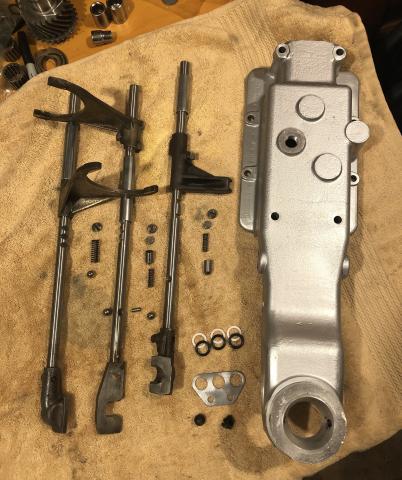
The spacers got some fresh zinc plating, along with the seal cover and some parts from the shift lever assembly. The seals where the shafts exit the cover for the shifter connection is a known leak source, so i replaced the O rings with X-profile rings and teflon spacers, on the recommendation of one of the online forums.
Then everything was cleaned, the cover casting painted, and ready to reassemble.
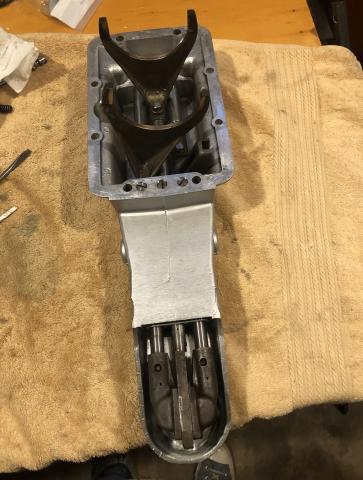
The short spacer and two balls in the middle are for the interlock, which prevents the other 2 shafts from moving while one of them is in a gear. That part wasn't as fiddly as i feared; a little grease held the space in place in the 3-4 shaft, and it wasn't difficult to push the ball in one side while reassembling the other 2 shafts, one at a time. I used sewing machine oil on everything as i reassembled the parts, because it's a good viscosity and has a really precise applicator nozzle.
Then to retest and adjust the tension for each shaft. The force can be adjusted with the screws holding in each detent assembly. The 3-4 and reverse were easy to get in spec, the new 1-2 spring needed a bit of grinding as it was too strong at first. In the end, everything is the right tension and this is ready to go back on the gearbox once that's together again.
