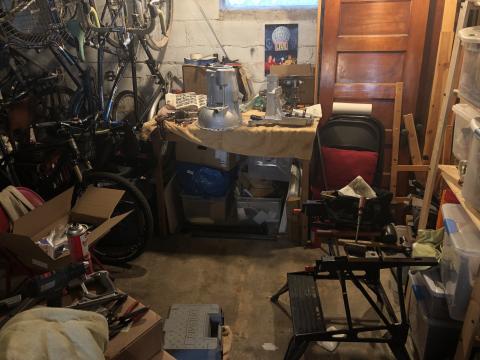
Since we were still in the middle of the coldest part of winter, i did most of the assembly work in my basement shop. My workbench there is an old drafting table, with a shopmate bench as secondary table and vise.
Having finished a gearbox assembly, the best advice i can give for assembling the countershaft and mainshaft in the gearbox is to closely read the part listings and order of assembly to make sure you don't forget anything. Since assembly is really a process of pressing in bearings, fixing a mistake usually means tapping out and re-pressing in bearings, which isn't great for the bearing or the mechanic's patience.
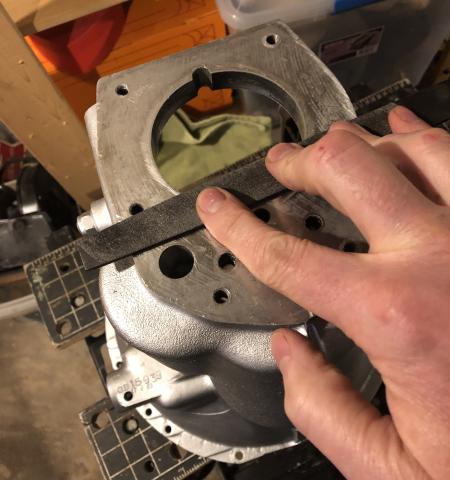
While i waited for parts to arrive, i cleaned up the case with some paint and lightly flattened the mating surfaces for a better seal.
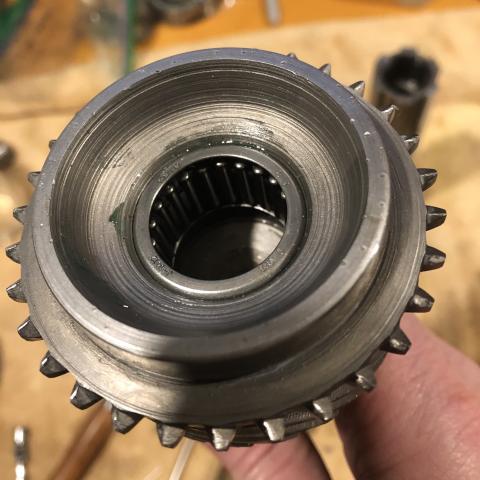
With parts in hand, i started putting the small assemblies together. The needle bearing for the input shaft tapped into place with no problem, far easier than removing the old one.
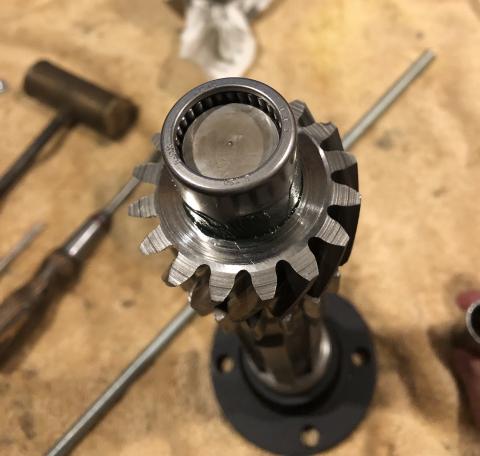
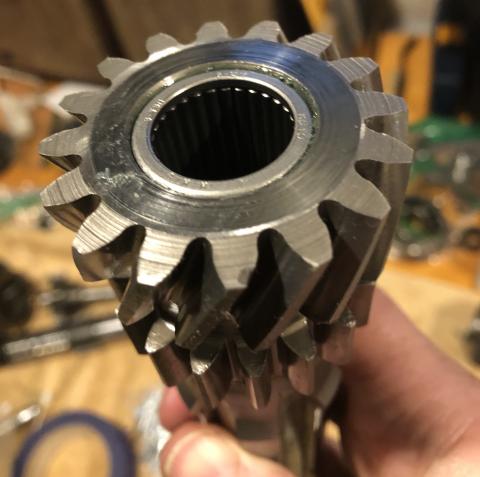
For the countershaft assembly, i took some advise from a forum post and used the old shaft inside the bearing to keep it aligned, and that seemed to help guide it in more easily. I stacked it on top of the flange and a small wood block to keep the top of the shaft just under the top of the bearing.
The longer shell bearings perfectly fill the space, with a larger bearing surface against the countershaft. Hopefully between this and the harder shaft it'll last longer than the stock setup.
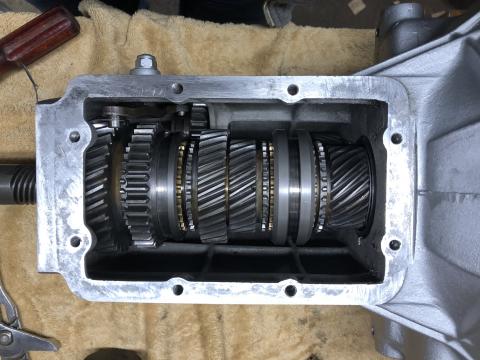
The countershaft assembly went in the case cleanly, i used some thick disc brake grease to keep the thrust washers in place. A quick check with the old countershaft showed the new thrust washers were a bit tight, so i took another thou off of the steel side of the smaller one. Now it's just inside the tighter end of spec, much better.
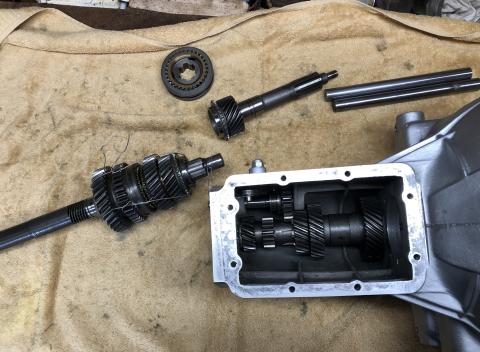
Measuring the 2-3 gear bushings with the new adjustment washer showed it was also just a thou more than the small end of the spec, which seems about perfect. Everything is ready to go. I wired the main parts together so i wouldn't drop anything on the way into the case. Notice anything missing?
The mainshaft assembly went in great too, and then i realized that i'd forgotten to add the 1-2 syncro hub (top of the photo above) before tapping in the rear main bearing, and had to take it all apart again. The second attempt worked fine, and the bearing doesn't seem to have suffered from the extra work. I'm glad i replaced the main bearings, they really do feel smoother than the old ones.
The countershaft itself was a hair larger in diameter than the old one, so i had to tap it in rather than slide it in. Pro tip: take a minute to break the edge of the oil passage hole in the shaft, and wear gloves when pulling it out, the edge is sharp enough to gouge out a bit of skin if you slip.
The second near-mistake was almost forgetting to add the oil slinger to the front bearing when installing it on the input shaft. Thankfully, it was barely on the bearing landing before i caught that one. And with that, the internals were complete.
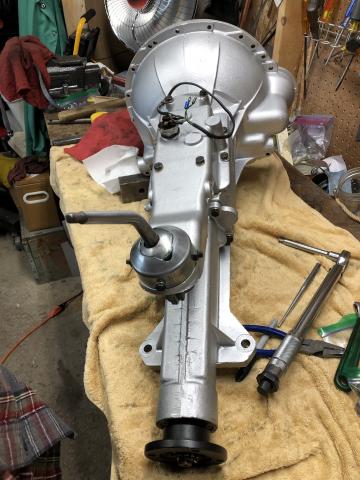
i tested the gears by hand, and everything turned smoothly, so i oiled all the bearings and oil passages thoroughly and worked it around. Then i installed the top cover, adjusted the shifter, and it shifted correctly for each gear combination. Whew!
It feels great to have this done. Setting it aside for now to get busy with the rest of the engine rebuild.
