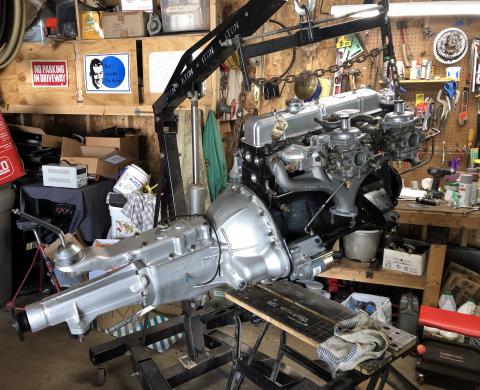
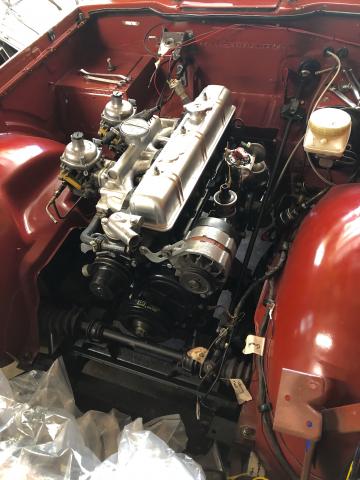
Once the machine shop had a chance to evaluate my replacement engine block and crank, i was finally able to make the last big parts order. Because of the surface rust in a couple of cylinders and crank journals, the block was bored out to .040 over and the crank ground to .020 under. I was hoping for a bit less crank grinding, but it's fine, and the bores are at the limit for most available pistons, but should be plenty good for my lifetime with the car.
With parts in hand, the shop moved pretty quickly, but we were a bit stuck waiting on the crank, which was handled by another shop, and everyone is busy in the spring. I realized though, that with the change in crank i also needed a new flywheel. My '69 crank has a longer flywheel interface end, so the flywheel attachment is shallower to match. The later replacement crank needs a deeper flywheel. I got a flywheel for pretty cheap from a club member, confirmed that it's the same bolt/pin pattern and dropped it off for machining. I noticed that it was lighter than my old one and just figured that it had been previously lightened, and bonus for me!
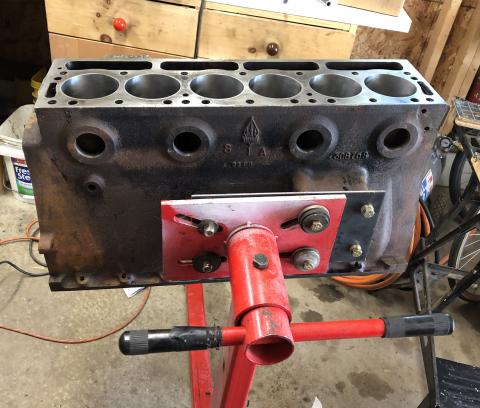
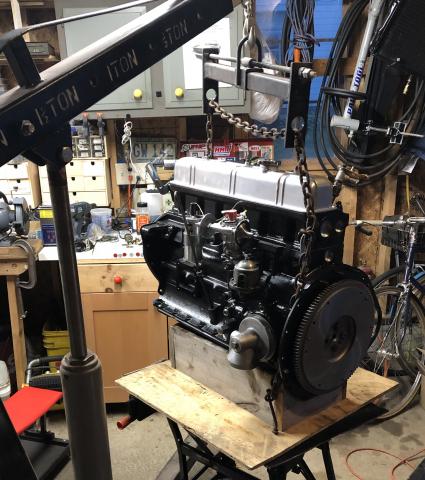
After i picked everything up from the shop i got busy with final cleaning, painting, and thread chasing. First up was getting the block on the engine stand. I used the end mount to strip the block, but wanted to try a side mount for building it. I made a hefty plate to shift the load, and this setup ended very balanced and easy to manage.
The side mount was really nice though, i could access everything i needed to for the whole build. In hindsight, i should have done all of the thread chasing first, it would have saved me some cleaning time. I'm really glad i spent extra time on checking the galleys, because a couple of cam oil supply lines were still clogged after hot tanking. I feel pretty confident that the oil should be flowing well now.
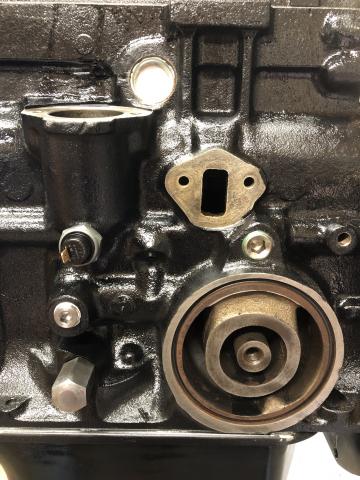
After cleaning and painting, i started on the various coolant and oil plugs. I replaced the original aluminum plugs with steel versions; i tapped the front plug for 1/4" npt, and replaced the large one above the oil filter with a 3/4" straight plug sealed with Loctite 620 retaining compound. On the machine shop recommendation, i used Permatex #1 on the freeze plugs and thread sealer on everything else.
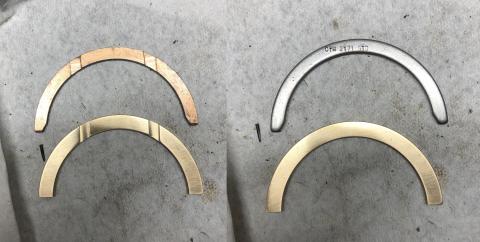
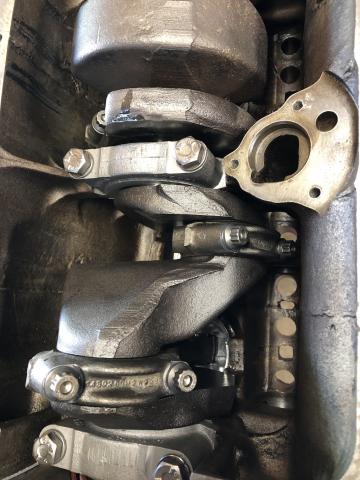
The crank install was smooth, no binding or tightness at all with all caps torqued to spec. The crank end float was barely out of spec with standard thrust washers, so i replaced the rear with a +.02 solid alloy washer from Good Parts. It's also a bit wider than the standard version, so a bit more bearing surface, which is a good thing.
Even though i'm pretty easy on equipment, it seemed like good insurance since the old engine had obvious repeated thrust washer problems. I ended up with .005 end float, which should be very solid.
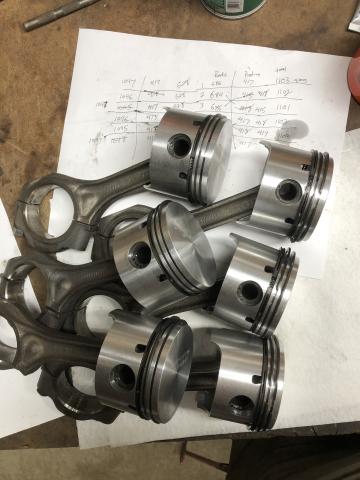
Next i took some time to mix and match pistons and rods to balance as close as possible. I didn't do any grinding, but just with mixing parts was able to get each set within 2 grams. It helped that each of the parts groups were within about 3 grams of each other to start with.
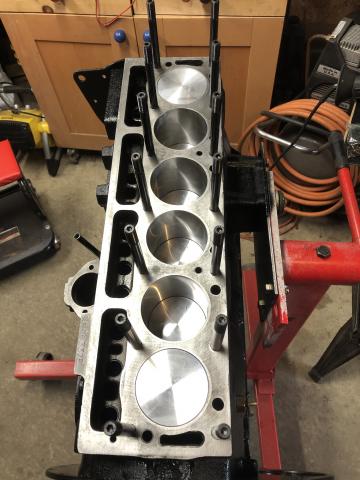
The pistons were installed with new ARP bolts on the connecting rods.
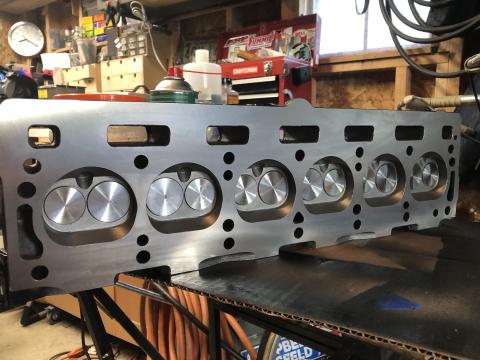
Boy all these clean parts look good. Too bad these are views i hope to not see again with this engine (knock wood).
Once the head was torqued down i moved on to the cam and lifters. I didn't take any pictures of this, but took time to make sure the lifter bores were clean and that they moved freely. Likewise, the cam was cleaned up and slathered in assembly lube. I don't want to take any chances with wiping out the cam on first start.
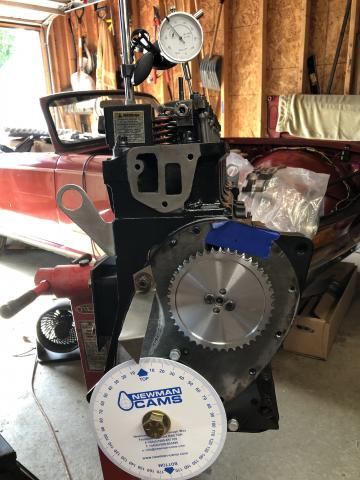
Then i moved on to cam timing. I made a pointer out of scrap and carefully reamed out the center hole of the timing wheel to fit.
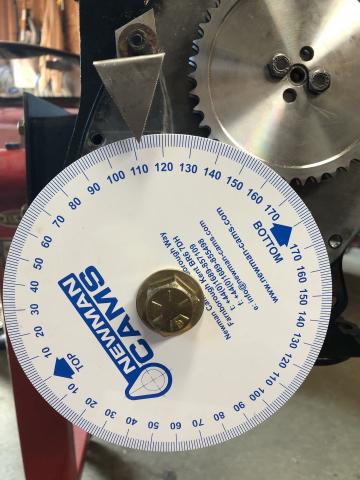
I'm using the BP270 cam, which as a higher lift and slightly longer duration than stock, which should make for a good low-end torquey power boost. Not like turbo power, but a little more jump. It's easy to time - the instructions call for setting the crank at TDC, the cam at peak lift for #1 intake, turn the crank to 112° after TDC, and you're done.
I was so proud to have figured it out that i took a picture.
The astute among you will note the problem. Since the TR6 crank goes clockwise, this photo shows 112° BEFORE TDC, which will totally not work when it's supposed to be AFTER. I can attest to that being wrong, because i had to re-time the cam after installing the engine, when it wouldn't start. Learn from my mistake: do a full walk through the combustion cycles to make sure that the valves are doing what they're supposed to, or you'll have to re-do your cam timing in a much less convenient place. Ahem.
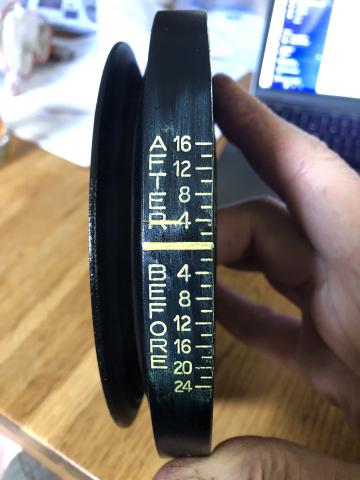
Somewhere in there i got a little fancy and wiped paint into the timing marks of the front pulley.
I was getting down to installing the clutch when i hit the next snag. Remember how i thought it was interesting that my new flywheel was lighter than the old one? When i went to install the pilot bearing and noticed that this flywheel did not have space for the pilot bearing that was supposed to fit, i realized that this flywheel belongs to a different Triumph. Maybe a Spitfire or GT6 or something. Not a TR6 though.
So it was off to find a new one, but happily there are a few people around town with parts stashes, so it was really just a few more days of delay (and new ring gear, and cleanup), but i found the right one.
As i got closer to finishing, I ended up with a frantic Wednesday where i picked up the (still fairly hot) flywheel from the machine shop, installed the clutch and gearbox, starter, manifolds, and distributor in the morning before a buddy from the local club stopped by to help drop the engine back in the car.
I was really happy to have 2 people for the installation. With the size of the engine & gearbox together, it's a tight squeeze to make the corner into the engine bay and under the firewall but also over the transmission mount. We ended up removing the cross brace under the transmission mount to get it in, but it all worked and nothing broken in the process.
This feels huge. I spent the last 2 days before final installation re-running through every step in my head, paranoid that i'd realize i forgot something that would require pulling it all out again. So far it seems like i got it right.
Next up is rewiring and plumbing everything, and that initial startup.
