While i'm waiting to hear back from the machine shop on my engine work, i'm going to try to fix a few areas of the body tub while i have so much of the car stripped down anyway. Since i'm still learning about patching things with sheet metal, i decided to start with the battery box area.
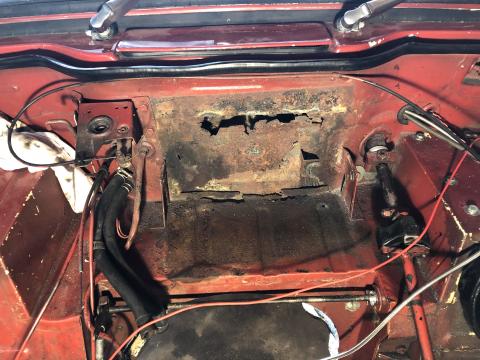
The main problem with this area is that traditional batteries leak, and even if they don't leak they make corrosive vapor at the vent caps. This generally leads to eating away the surrounding metal, and mine was no exception.
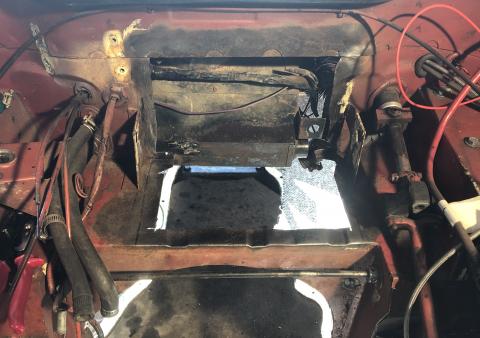
This was hidden beneath a sheet of aluminum that had been screwed over the damage. Well, it looked nicer, i guess. The floor part was thin, mostly toward the rear, but the vertical back panel was mostly gone.
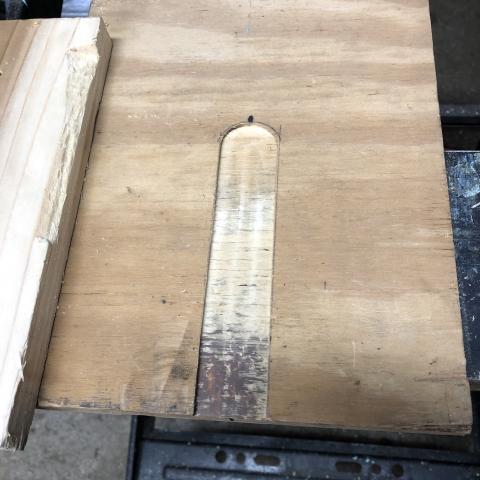
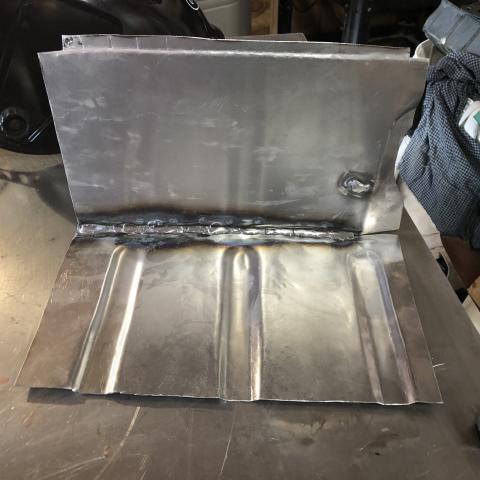
There are 3 drain channels in the floor piece that i didn't want to lose, so i made up a quick wooden form to try to press that shape. First i routed out a channel to the size of the outer dimensions.
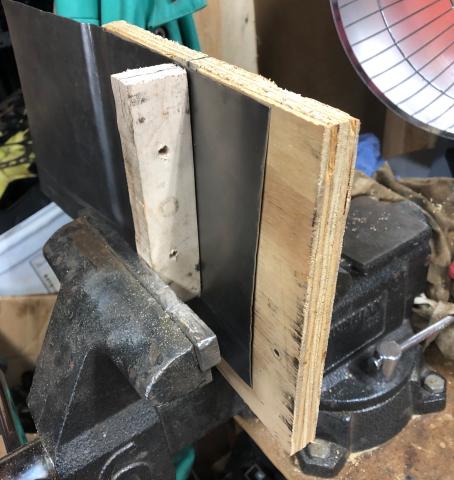
Then made an inner piece from some hard maple to fit the inner edge of the channel and lined everything up in a vise. This would have been much easier with a press.
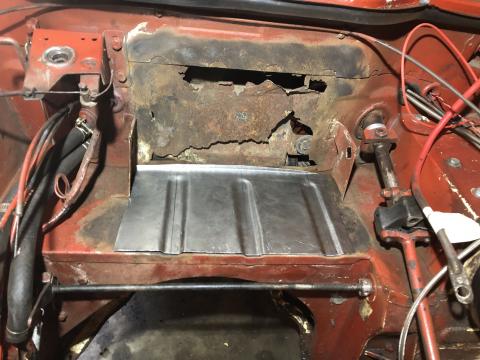
They aren't as sharp as the factory versions, and the spacing is off by a bit, but not too bad a fit.
That's the heater box right behind the rotten firewall, and a mounting stud at the lower right. The original was a little chewed up, and more importantly, i lost the nut that was on it. I found a reasonable replacement from my stash. but it's metric, so that's gonna mess with some future owner.
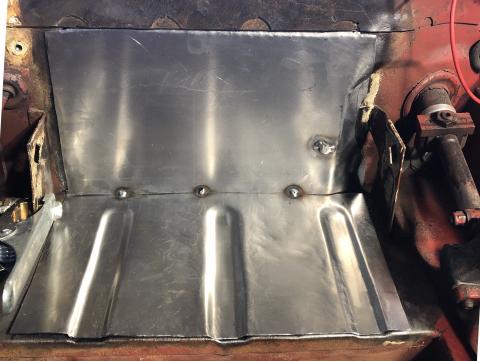
After a lot more trimming and test fitting, i tacked the 2 pieces together.
Then, with the new piece fitting and marked for placement, i cut out the rust back to reasonably good metal. It's still a bit thin in a couple of areas, but i think will be plenty strong once welded in.
Then finish welded the parts together. It's not perfect, but i'd rather leave it on the stronger side than the prettier side. I'll seam seal all of the joints after painting.
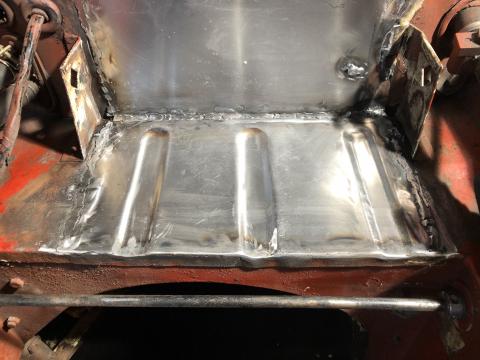
Then, after some more cleanup, got it welded into place.
I mostly just knocked down the high spots from the welds (still not as tidy as i'd like), but got the front edge pretty clean both because it might be visible (if i don't re-use the plastic battery box) and so the drain channels will work.
This was tricky because i was working around the existing side mounts, rather than remove and replace them. I'm confident that i'm welded to good metal, and it didn't seem necessary to cut back farther, but that made it harder to get good welds in the corners. It should look fine once it's seam sealed and painted, but importantly, it's really solid again.

