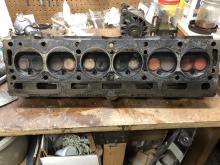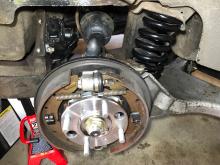


The cylinder head for the TR6 engine is off to the machine shop and i've just about finished cleaning & repainting or plating everything else i can take off the engine: starter, alternator, water pump. The distributor is back from Advanced Distributors for a full rebuild and recurving, and it looks great. The radiator is out, but i'm waiting until i can give it a proper flush outside.
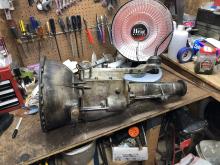
It's zero degrees outside with many cold weeks of nothing to do. What's next? Take out the gearbox, of course.